Breakdown of a User Research Project – Part 1
This will be a quick (well maybe not so quick) review of a user research project that was conducted in March of 2018. The designs that were tested during this and other research projects that were conducted during this time period helped the design team move forward with work that won design awards this year.
As in most cases, the research work that went into completing the designs is not something that is likely to be publicly recognized. So, I’m taking the time here to showcase one particular research project in order to shed light on the process and the effort that goes into making something like this happen. This series of posts will be a review of how we conducted, analyzed, synthesized, reported, and presented on this research to help inform both immediate design direction as well as strategic decisions.
My role for this research was the head of the research team. I designed the research study, worked with my team to conduct the sessions, and then worked with a junior researcher to analyze and synthesize the results. The junior researcher and I then worked together to writeup a results and recommendations report and we put together a presentation for leadership that we then presented to multiple levels.
Designing the Research Project
Truth be told, I was pulled into this project approximately a week before the research was to be conducted. I had very little latitude in what I could do to pull it off in such a way that it would be useful, so I did what I could with what I had. I was told we would be conducting research at our company’s annual meeting and that we would be doing so with “Inner Circle” companies. Or, those companies that paid a bit extra to see early work prior to release.
The design team originally wanted to hold a focus group, which I vetoed because given our timeline, we would not be able to recruit properly for one to be successful. (Side note: I generally dislike the group think that happens in focus groups. I find the data that comes out of them to be less useful than doing multiple individual research sessions and I would rather take the time to do it right than waste time on data that I can’t use.) Instead, I recommended that we do prototype walkthroughs with different companies who came to our three scheduled 1.5 hour sessions. Since there were four of us going, I suggested we could each take an interviewee and record the process so that it could be transcribed and analyzed later.
I provided a walkthrough procedure we were all to follow including how to set up the interview, the questions to ask, how to ask the questions, and how to probe as needed. Each interview was to take 20 to 30 minutes which meant that with the four of us we could get about 24 interviews. This is a pretty large sample size for this type of research. The thought was we could come together after each session to see what parts of the path were reviewed and then start users on separate paths during future interviews to make sure we captured data on everything possible. As long as we got 3 to 5 users to go down each path (there were 3 main paths), then we would have enough data to move forward with.
Had I been able to design the research early on, I would have gone out of may way to recruit different types of users for each path and separated each round for each path.
Prepping the Prototype
I also reviewed what we were to be doing a prototype walkthrough on and made multiple suggestions to the design team in order to make it a more successful artifact. Note: I highly recommend this for all researchers. If you’ve never conducted a prototype walkthrough before, please have someone who has done so review any work before it is put in front of a customer.
If a prototype is not prepped properly, especially a click-through one, then the user will end up getting hung-up on how the prototype works (or doesn’t) rather than the content within it. Prepping a prototype includes making sure all of the content is consistent from the colors, to the fonts, to the placements, to the images, to the interactions themselves. Even a word being misspelled will cause an issue.
This is one reason why I HIGHLY recommend doing prototype reviews on low-fidelity work. Low-fidelity work is easier to change quickly, easier to keep consistent, and easier to keep a user on-task and in the flow. Once you start adding medium or high fidelity flair, you provide more opportunities for bikeshedding.
I’m not saying not to test high-fidelity work. What I am saying is that it is better if that work has already been tested at a low-fidelity so that by the time you get to testing the hi-fi’s it should result in minimal changes and it should target very specific pieces of the hi-fi work itself and not the content, flow, or interactions. By the time you get to hi-fi, those pieces should already be vetted.
It also helps if you know the material being tested. Full disclosure, I was a designer in the space for nearly a decade prior to creating a research team and conducting this research. Additionally, I am a technical designer and researcher. I have a very technical background (from hardware support, to server administration, to web development), so not only do I very much enjoy this work, but I also have the background to be able to do it successfully. Though it is not a requirement for researchers to be super knowledgeable about what they are researching, I believe in the tech space, it certainly helps.
Conducting the Research
Of course nothing ever goes as it is supposed to. We expected maybe a few companies to trickle in during our sessions as we were in high competition with multiple other sessions being conducted at the same time. That, and who wants to do a prototype review? Well, apparently a lot of people do.
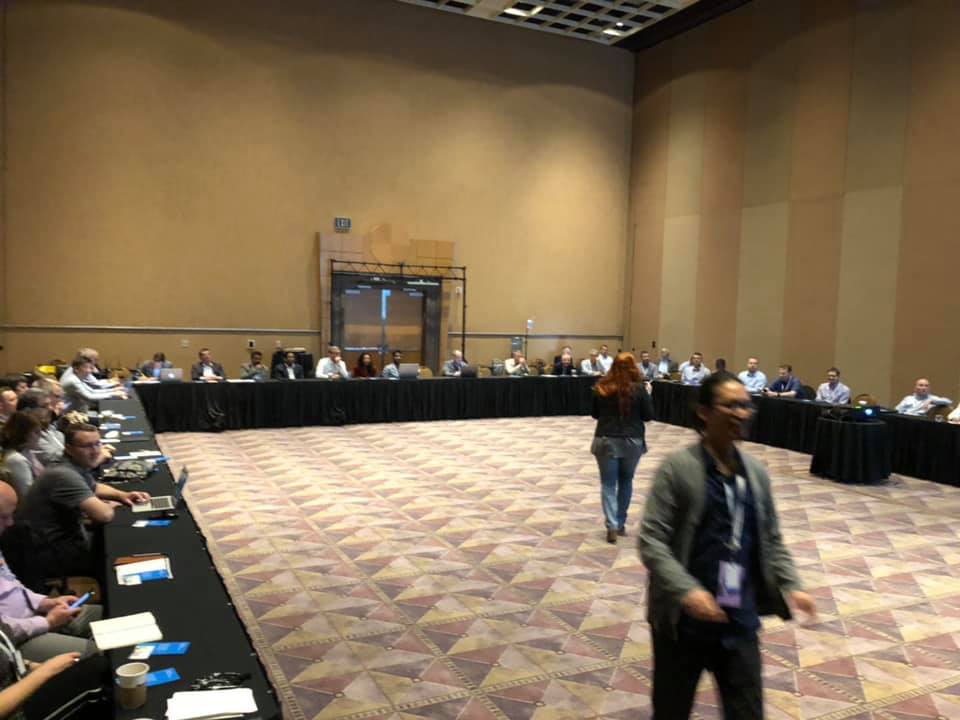
We walked into the room where our session was to be held at 8am and found it FULL! We had over 50 people in there to start with and most stayed the entire 90 minutes. The team I arrived with started freaking out a teensy bit, so I grabbed the mic and took over. I introduced my self, what we were doing there, and then asked for a volunteer from the crowd to drive.
Thankfully, a volunteer stepped up. We put a mic on him, aimed a camera toward him and the prototype we projected on a large screen behind him, and then I led the prototyping session with everyone at the same time. Note: We recorded him, his face, and his voice with one camera and we recorded the session on the computer at the same time.
So, did this turn into a focus group? No. That was the point in having a driver. We let him take the wheel and proceeded with him leading us through his own path. As he went through, members of the audience had their own questions, too. So, I took a mic around the room and got their input as well.
The most interesting part was we had a lot of different types of people from a lot of different types of companies in the room, which meant they all had a different use case or need. Hearing one company’s use case would then prompt another company to engage with them and then state how their’s differed or resembled the previous. Having a driver allowed us to pull people back on track as needed, but we provided a bit of leeway as was necessary if the questions were relevant and had bearing on the current or future design states.
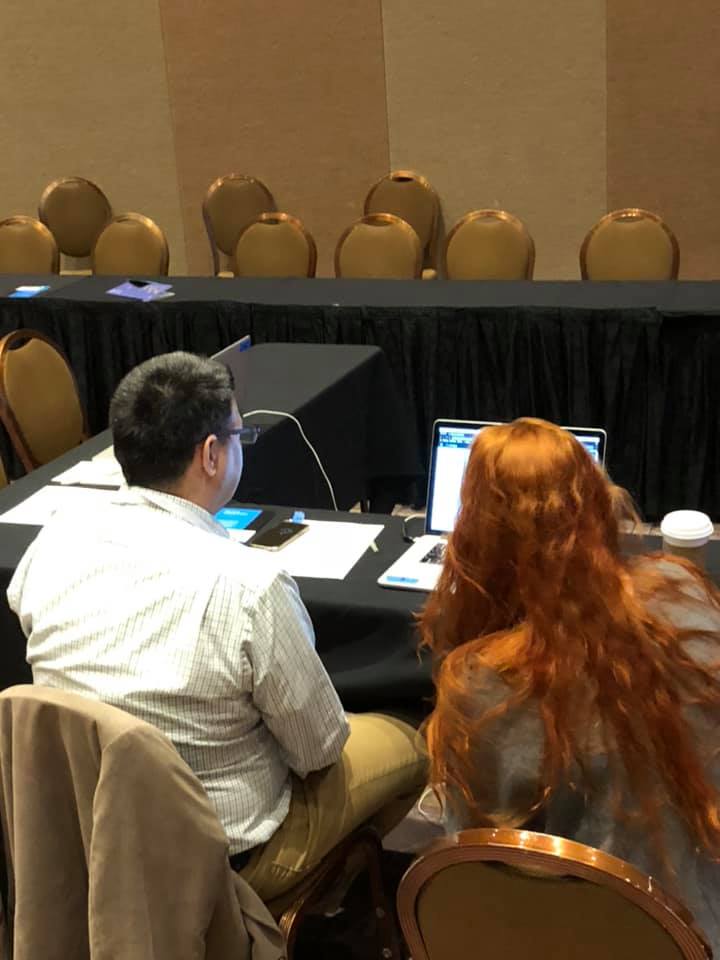
The second session was right after lunch and that went a lot smoother as there were much fewer participants. As they entered the room we had them sign up for a session and provided them a time slot to return. We conducted 10 individual interviews during that 90 minutes.
For these, we simply recorded the screen as they clicked around the paths that were of interest to them. What we found during these sessions was that users were looking for more of a guided tour of our product and wanted to ask technical questions on existing interfaces rather than prototyping up and coming ones.
We decided to go ahead and do the room-wide prototyping session for the third round due to the fact that it was the last of the day and it was considerably smaller than the first session. Turned out we had a lot of networking experts in the room for that one, so it was a much different conversation. Overall, we had more than enough data by the end of the day to move on to the analysis and synthesis stage. I’ll save that for part 2.